When it comes to upgrading your kitchen, nothing makes a statement quite like a new tiled floor. Tiling not only enhances the aesthetic of your space but also makes it more functional and easy to clean. In this guide, we’ll walk you through the steps to tile your kitchen floor in Dubai, ensuring you create a beautiful, durable foundation that stands the test of time. Whether you’re a DIY enthusiast or working with professionals, this guide will simplify the process for you.
Why Consider Tiling for Your Kitchen Renovation in Dubai?
The kitchen is one of the most used spaces in any home, so durability and ease of maintenance are essential. Tiling is particularly beneficial in Dubai due to its durability, resistance to moisture, and ease of cleaning—ideal for the humid climate and frequent use of air conditioning. Using the right tiles can also help reflect light, making your kitchen feel brighter and more spacious.
Choosing the Right Tiles for Your Kitchen Renovation in Dubai
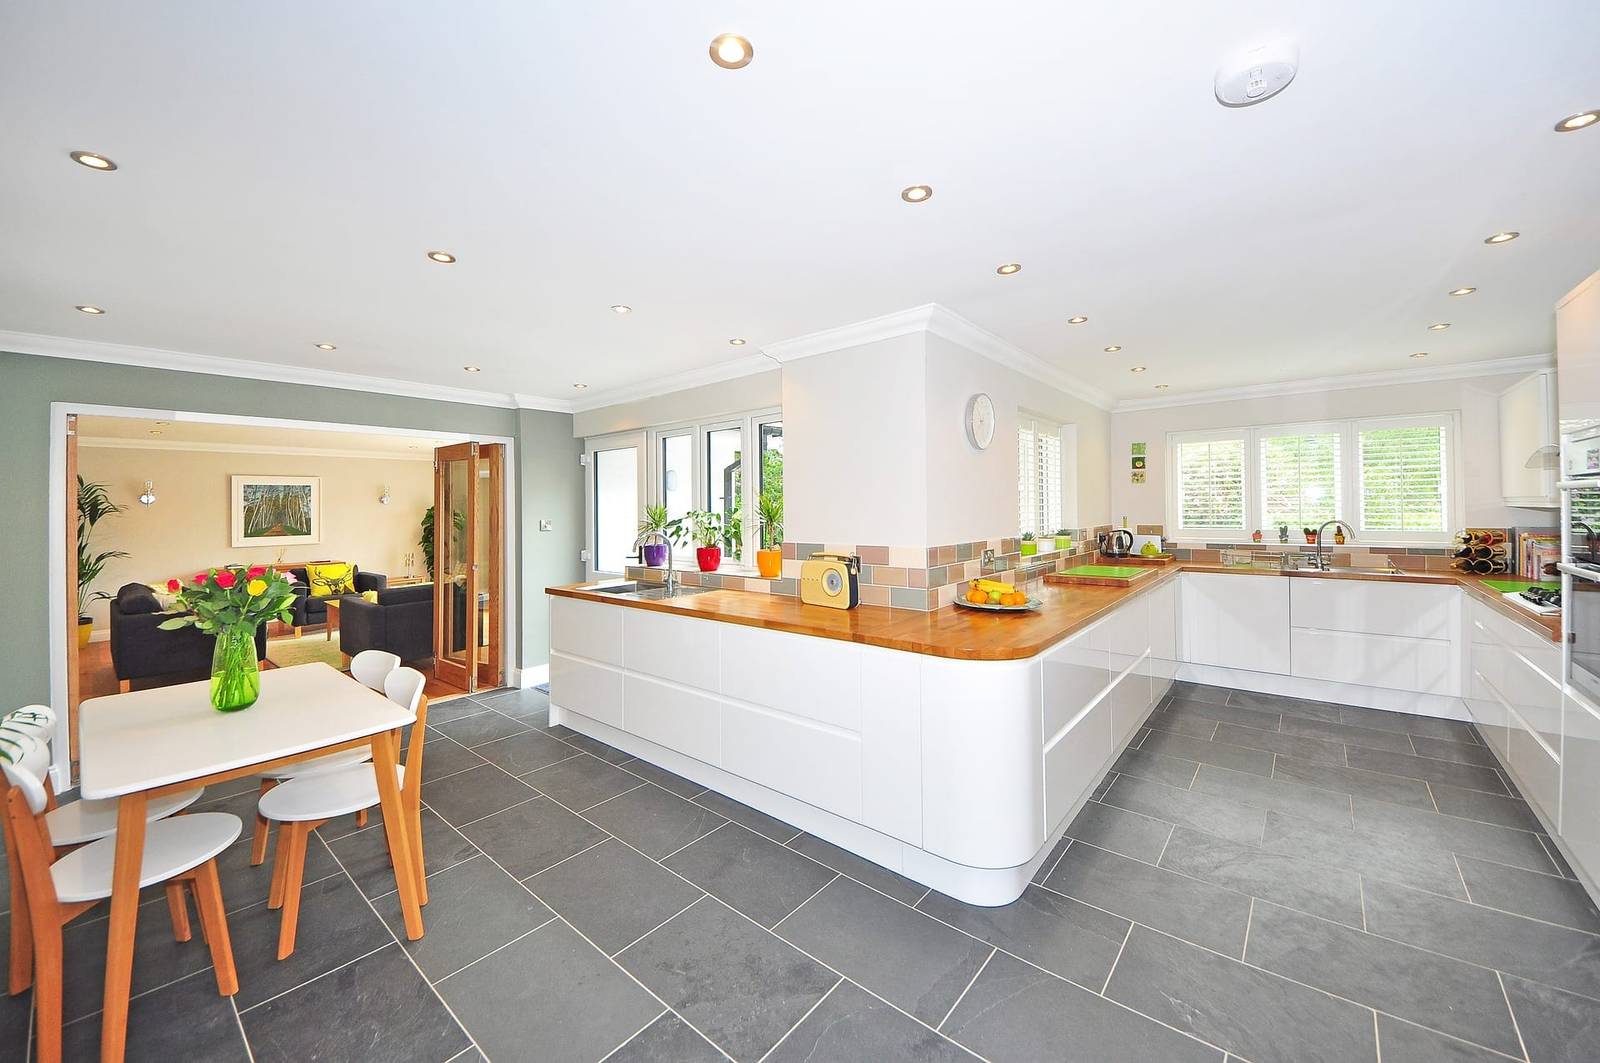
Selecting the right tiles for your kitchen floor is the first step in any successful kitchen renovation in Dubai. Factors such as style, color, durability, and texture all play a role. Ceramic and porcelain tiles are popular choices due to their resilience and wide range of styles. Natural stone, like marble or granite, is another premium option, adding a luxurious touch to your kitchen.
Considerations for Tile Selection:
- Durability: Go for tiles that withstand wear and tear.
- Style: Neutral tones or light shades can make the kitchen look bigger.
- Texture: A slip-resistant texture is ideal for kitchen floors.
- Maintenance: Choose low-maintenance tiles for ease of cleaning.
Tools and Materials Needed
Before starting, gather the essential tools and materials. Having everything ready will make the process smoother and faster.
Tools:
- Tile cutter or wet saw
- Measuring tape
- Trowel
- Level
- Rubber mallet
- Grout float
- Sponge and bucket
Materials:
- Tiles (based on the kitchen’s square footage)
- Tile adhesive
- Grout
- Tile spacers
- Sealant (if required)
Step 1: Preparing the Kitchen Floor
Preparation is crucial to a successful kitchen renovation in Dubai. A properly prepared surface ensures that your tiles adhere well and last longer. Start by removing any existing flooring and cleaning the surface thoroughly. This will prevent unevenness and make tiling easier.
Tips for Floor Preparation:
- Check for Leveling: Use a level to identify any bumps or dips and even out the surface.
- Clean Thoroughly: Remove any dust, dirt, or grease.
- Install Underlayment (if needed): Some floors may require a base layer, especially if they’re uneven.
Step 2: Planning the Tile Layout
Before applying adhesive, plan your layout. A well-thought-out layout can prevent unnecessary tile cuts and make the end result look professional.
- Mark the Center: Find the center point of your kitchen floor and mark it. This will serve as a reference point.
- Dry Lay the Tiles: Place the tiles on the floor without adhesive to see how they’ll fit. Adjust as needed to minimize cuts.
- Use Spacers: Insert spacers between tiles to maintain consistent grout lines.
Step 3: Applying the Adhesive
After planning your layout, it’s time to start applying the adhesive. Use a trowel to spread a thin layer of adhesive evenly on a small section of the floor.
- Apply in Small Sections: Work in small areas to prevent the adhesive from drying before you lay the tiles.
- Use Notches on the Trowel: This helps distribute the adhesive evenly and provides better bonding.
- Press the Tiles Firmly: Once you place each tile, press down firmly and use a rubber mallet to tap it gently for an even fit.
Step 4: Laying the Tiles
Now that the adhesive is in place, it’s time to lay your tiles. Start from the center and work your way outward, following the layout you planned earlier.
- Lay Tiles One by One: Place each tile carefully on the adhesive.
- Maintain Consistency: Use spacers to keep uniform gaps between tiles.
- Check for Leveling: Use a level frequently to ensure your tiles are even.
- Cutting Tiles: For edges and corners, use a tile cutter or wet saw to achieve a perfect fit.
Step 5: Allow the Adhesive to Dry
Once all the tiles are laid, allow the adhesive to dry for the recommended time—typically 24 hours. Avoid stepping on the tiles during this period to prevent shifting or uneven placement.
Step 6: Applying Grout
Grouting fills in the spaces between tiles, providing a finished look and added durability. Select a grout color that complements your tile color for a cohesive appearance.
- Mix the Grout: Follow package instructions for mixing.
- Apply with a Grout Float: Spread the grout over the tiles and press it into the gaps.
- Wipe Excess Grout: Use a damp sponge to clean off excess grout from the tiles. Be careful not to disturb the grout lines.
- Let It Set: Allow the grout to set as per the instructions before doing any further cleaning.
Step 7: Sealing the Tiles (Optional)
Depending on the type of tiles you chose, you may need to apply a sealant to protect them from stains and moisture. This step is especially useful in high-humidity environments like Dubai.
- Apply Evenly: Use a brush or roller to apply the sealant over the tiles.
- Allow to Dry: Give the sealant ample time to dry to ensure maximum protection.
Step 8: Final Cleaning and Finishing Touches
Once everything is set, give your newly tiled kitchen floor a final cleaning. This last step will make your kitchen shine and ensure no grout haze is left on the surface.
- Wipe Down Thoroughly: Use a clean, damp cloth to remove any residue.
- Inspect Your Work: Check for any areas that may need touch-ups or additional grout.
- Enjoy Your New Floor: Admire the fresh look of your kitchen renovation in Dubai!
Kitchen Renovation Dubai: Key Takeaways for Success
Tiling your kitchen floor in Dubai is a rewarding project that can transform the look and feel of your space. By choosing the right tiles, following proper preparation and installation steps, and finishing with attention to detail, you can achieve a professional look. Remember, patience and precision are key. If you need assistance, consider reaching out to experts like KLG Technical Services for guidance or professional installation services.
With these steps, you’re well on your way to a stunning kitchen renovation in Dubai that adds value, style, and functionality to your home. Enjoy your new space, and get ready to cook in style!


